Saturday, August 31, 2013

School Banner

Well, it has been a busy two weeks getting a new school ready for children next week, but I believe we have pulled it off.  I'm so excited for this year!

A couple of weeks ago I saw Rochelle's pencil banner HERE - which she created on MDS.  I followed her example and created one, using our MDS punches, for our school using our new logo in the centre pencil.  I used some old hemp twine to connect them and added some burlap ribbon bows for accent.  Now I'm planning to create one seasonally for our entrance.  Woo Hoo!


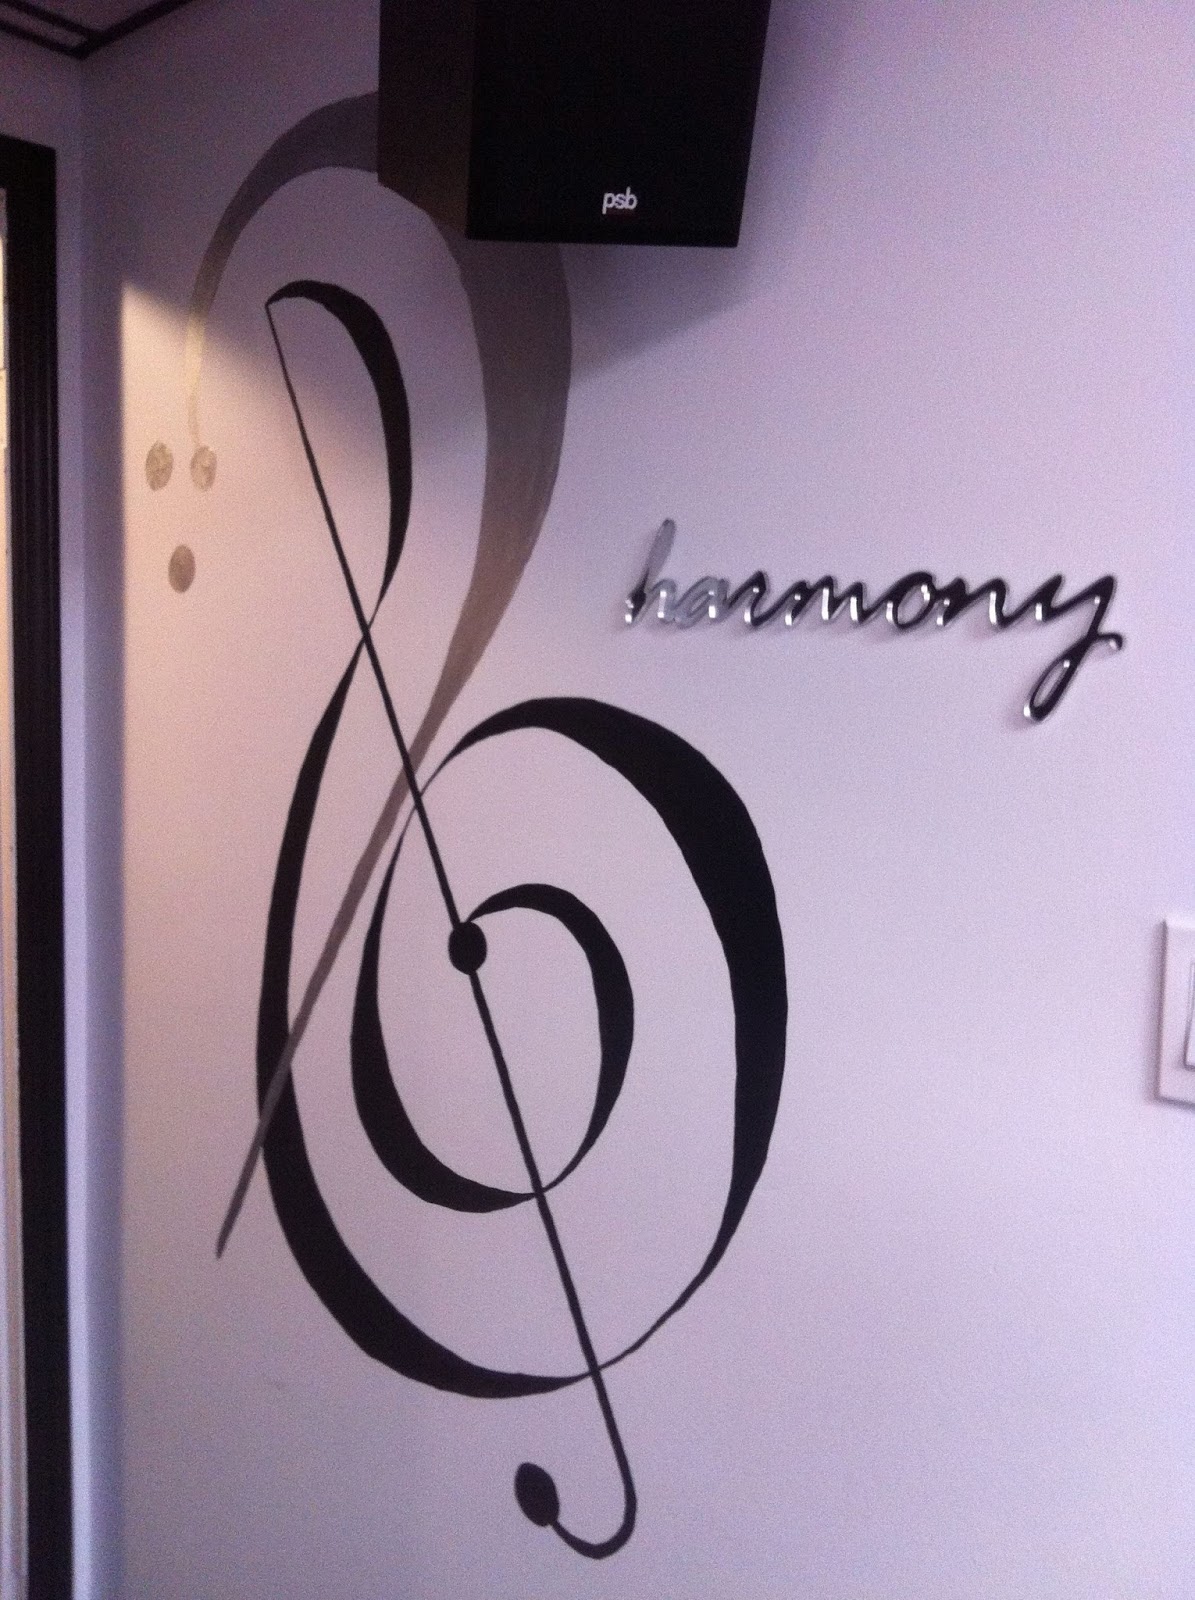
And, just to share what I've been busy doing over the past two weeks.....here is my music room when I arrived on the 19th of August.  All my supplies stacked, plus some extra stuff left in the room and on the walls.

Everything is now in it's place.  I have a wonderful open space to place games and teach in...as well as being able to use risers for seating.  It won't take long before the open space is filled with instruments too - but I'm happy to have a large storage room (old band instrument storage room) to put all my instruments in until they're needed.


Hope you have a wonderful beginning to your long weekend.  I'm hoping to get some chores done at home that didn't get done this summer......or I just may relax - who knows.

Thanks for visiting for a bit
Joan

Tuesday, August 27, 2013

Summer Travels

I've been working a little on our Summer 2013 book.  I didn't get as many pages done on the road as I'd like - but it will come.
There isn't anything fancy about this page, but I did have fun adding the little map of Canada with the "travel" line.  I keep forgetting about that set!

Today is Digital Download day for MDS  - it's always a dangerous day, and today is no exception.  There are quite a number to choose from, but I'll give you a peak at the "Old School September Kit.  I love vintage type images and these are great.  I'm loving the papers too.

Old School September Kit - 134978 - $12.17
Download includes: 
* 33-piece SVG stamp brush set 
* 12 Designer Series Papers
* 14 embellishments 

  What a deal!  And, beginning this week I will be offering a weekly Hostess Code to allow you to purchase anything from my on-line store (see the "Shop on-line 24/7" on the sidebar) from anywhere in Canada.  You can place your order, use the code and your order will be shipped directly to you.

This week's code is 
QCVHZSGS
Here are a few of the details about ordering through a hostess code:
 
1.  Go over to my online store: 
2.  Click the SHOP button in the top right corner
3.  Order ANY product you like (catalogue merchandise, MDS downloads, print products, clearance rack, specials...ANYTHING we sell!)  
4.  Click on the "checkout" option
5.  Log into/create your account
6.  Enter in your payment method
7.  Enter in the hostess code
8.  Submit
9.  Your order will be shipped directly to you as soon as you enter your order!  

I'm only sharing one of the new downloads with you today - there are a bunch of other great ones - so take a peak!
Thanks for stopping by today - I'm off to finish getting my classroom in order.
Joan


Monday, August 26, 2013

Tried and True Toy!

Happy MDS Monday morning - Beth  has a wonderful sketch for us this morning and the added challenge is to use fun frames around your pictures. The great thing about MDS is that those frames could be stamped or "paper" or embellishments.  So many fun options.  That's why it can take so much time, sometimes, to get a page done.

Today I'm featuring Elliot playing with that tried and true Tupperware Shape-o-Ball.  This is the one that Grant and Allison played with as kids.  I was a Tupperware Queen (demonstrator) at the time.
Beth's sketch has a simple embellishment grouping, but I decided to challenge myself with reproducing all the shapes that go into the ball.
The circle, oval, square, star, triangle, and hexagon were simple - we already have those shapes.  The quarter circle was easy too - just crop the circle! 


For the pentagon, I took the hexagon shape and edited it; moving the points until I got the pentagonal shape; and I removed one of the lines.

The trapezoid was fairly easy too....starting with a square and adjusting the points  to create the shape.  I would like to see a grid on this page so it would be easier to "eyeball" where the points are going.

The Swiss Cross was the hardest -beginning with a square and inserting points on each side before moving them into shape.

Here is Beth's sketch.....
Have fun with it and be sure to link your creation over to the MDS Monday challenge blog so we can see what you've done.

Sunday, August 25, 2013

Hello My Friend

Hello....welcome to a colour challenge day at Sunday Stamps.  I have to admit - I did find this one challenging.  I don't go to red very often and I even rarely go to pink.....so having them together was a challenge.  That's the fun thing about all the various challenge blogs, they sometimes force you outside of your comfort zone - and that's not necessarily a bad thing.

I've used three different stamps sets for this one - Tape It, Six-Sided Sampler, and My Friend.  I also have to admit that I used the Stamp-a-ma-jig for the placement of the tapes on this one.  Usually I don't care where they land, but this time round I wanted them to a least try to be straight.


I'm looking forward to Sunday Family Dinner tonight, the kids have been gone camping and I'm excited to see them - and hear all the new things Elliot was able to explore.
He went for his first canoe ride....I love how you can just barely see the little person sitting in the front by his mom.

Hope you have a wonderful day.  Thanks for stopping by.
Joan


Thursday, August 22, 2013

Late Night Scrapping....

Well - I've missed a number of posts - been in Banff and then busy unpacking my classroom.  But - last night I stayed up until 2:00am (I drank coffee in the afternoon - duh!) getting started on Lyssa's 31 Pages in 31 Days.  Now,  I'm going to have to work both backwards and forwards on this, but I'm going to give it a try.  I enjoyed doing the pages last year and told her so when I bravely went up and introduced myself to her at Convention.

For the most part I am going to be staying strickly to her layout.  I don't have time to get overly creative since my creative juices are going other places right now.  

For the top page everything is the same except the background paper.  The sheet is from the same series that Lyssa used - but I must have used it all up.


Page 2 is exactly the same as Lyssa's....sorry for the glare of the sunshine, but I find I can't get good shots of my pages inside.

Here is where I've been spending all my time this week.  I've moved into a new room and had to divvy all my boxes up.  I'm almost done.


Here are my shelves after yesterday's work.  I'm so glad to have my big Stomp stuff in a storage room rather than taking up classroom space.

Well, off until tomorrow - hopefully.
Hope your days have been filled with successes.
Thanks for visiting.
Joan


Monday, August 19, 2013

Welcome Back


Welcome to MDS Monday. Tara has a wonderful card sketch for us - and an extra challenge to create a little grouping of embellishments.

I knew I wanted to make a back to school card and was inspired by Rochelle's little pencil banner HERE.  That helped me create the pencil on my card and then I realized that I could use our new school mascot on the front.  When the principal texted me the image it was square....so I decided to join the two bottom sections of Tara's sketch.


You have until August 30 to submit something for the challenge.  I hope you take up the challenge - it will be fun to see all the different clusters of embellishments.

I've already sent this card off to the printers - the principal is going to be adding them to everyone's goody bag at our first staff meeting!

Have fun!
Joan

Thursday, August 15, 2013

1st Hand Picked Raspberry

Wow - I am so sorry for not having this posted on MONDAY!  I headed to the mountains and forgot all about posting for MDS Monday - and it's my sketch!  Sheesh.  Summer brain!

So I have this fun shape filled sketch for you to try.    As you can see I didn't keep totally to the sketch myself....the "shapes" are there, but they're images instead of actual punch shapes.  Just shows how you are free to interpret the sketches any way you like.  
The design team has some great inspiration for you - and, now that it's Thursday when I'm posting this - there are a number of inspiring entries also.
Give it a try - I'd love to see what you come up with - Just post your creation over to the MDS Monday challenge blog.


Sunday, August 11, 2013

Hexagonal Thanks

Welcome to today's sketch at Sunday Stamps.  It's a fairly clean, simple and straightforward sketch that can go in any number of directions.  I had fun looking through the creations from the design team and am honoured to be working with such creative women!  Be sure  to check out their creations on the challenge blog.

I chose to use hexagons instead of circles - wanted to try out the new Six-Sided Sampler set.  With that I incorporated a number of the other hexagonal products that we have - the punch, the embossing folder and the bit of washi tape.  Fun, fun, fun.

Here is the original sketch...

Take it in whatever direction your creativity leads you - I look forward to seeing your projects when you link them to Sunday Stamps.

Thanks for dropping by today - Joan

Wednesday, August 7, 2013

Birthday Balloons

Oh I do love balloon images!  That's just one of the things I like about the new "Sketched Birthday" set - I love the drawings and how all the sentiments fit a framelit or a punch.  I'm also loving the Birthday Basics DSP - so much fun!

I got the sketch today from Freshly Made Sketches - although I didn't keep true to the sketch...sorry ladies.

There have been a lot of distractions today - so I must try to stay focused into the evening.  I hope your day has been fruitful.  Thanks for dropping by.
Joan

Tuesday, August 6, 2013

Truly Grateful


In between getting ready for my Christmas in August, I've MADE time to play with some of my new toys so I would have some new things to display at the workshop.

I've focused on fall for this one:  Truly Grateful caught my eye right away when I saw it in the Holiday Catalogue....that "wooden" chevron and the bundle of wheat are wonderful.  I took a piece of the burlap for the lower layer. The little cluster is made of leaves cut from the Sweater Weather DSP using the Autumn Acents and a piece of chevron ribbon.  The little button is one of the Designer Very Vintage buttons which I have dipped in Versamark, gold embossing powder and then heated.

I am enjoying the summer weather, but I love love love fall - all those leaves just asking to be shuffled through; but I don't want to rush things.

Hope your week has been off to a fabulous start - thanks for visiting.
Joan


Flower Shop Trio and Christmas Stack

Today's card features one of the flowers from the Flower Shop set - I love all the designs and it's great having the matching punch!  I've used the Dynamic Duos colours - Daffodil Delight and Strawberry Slush.  I added the bit of Strawberry Slush ribbon to help perk things up a bit.  I've noticed I haven't been doing much distressing lately - Hmmm.
This is a pretty clean and simple card that would be easy to do for card classes.


I am holding my Christmas in August Stack on Thursday.  Here are the cards we're going to be doing...


I have some of the new Christmas stuff now - so the October and November stacks will include some more of the products from the Holiday Catalogue.

I'm off to continue getting ready for Thursday.  Hope you have a terrific Tuesday.  Thanks for dropping by...Joan


Monday, August 5, 2013

Undefined & Feathers

I'll share the feathers with you first - This is the second technique I will be doing at the September Technique class.....and Inkspired Divas meeting.

I created an ombre pattern on glossy paper using sponge daubers and ink as the basis for the Joseph's Coat technique.  I really love this technique and first learned it when we had the spectrum pads.
I've used the new Pretty Print embossing folder and a trio of feathers from cardstock and DSP.  I learned how to make the feathers at Convention for one of our Make and Takes.

Secondly - Last night I decided to try my hand at "Undefined".  I received a small piece at Convention, but Tracey and I never made it to the area where we could carve our own stamp at convention....I purchased the Undefined kit so I now have the tools....

First I drew out my design with a pencil on a piece of paper - I drew the outline of the size block of rubber I was carving into so I knew my boundaries.
 

This was my inspiration - I painted this on our basement wall going into our "music themed" room - which is where I hold my workshops.

Next, I rubbed my drawing onto the piece of rubber - I took the pencil and "redrew" the areas that didn't transfer clearly.

Using both tools I carved away 


Before I cut the excess rubber away, I tried the stamp out to be sure there were no extra pieces that could accidentally get inked.

I mounted the rubber onto the foam piece and then inked up the rubber to stamp the image on the block.

Finally, I stamped the image on paper......

I haven't created a card with it yet - but that will come.  I have a number of things I still have to cross off my crafting to-do list.  But I'm happy with my first stamp!

Here's Stampin'Up!'s video on the product


If you'd like to get your hands on the kit.....you can get it at my on-line store by clicking the "Shop Now" link on the left sidebar.

Today has been fairly productive so far - Hope you are having successes in your day too.
Thanks for stopping by,
Joan